How to Turn a Voice Memo Into a Song
By Bedroom Musician Press · July 3, 2026
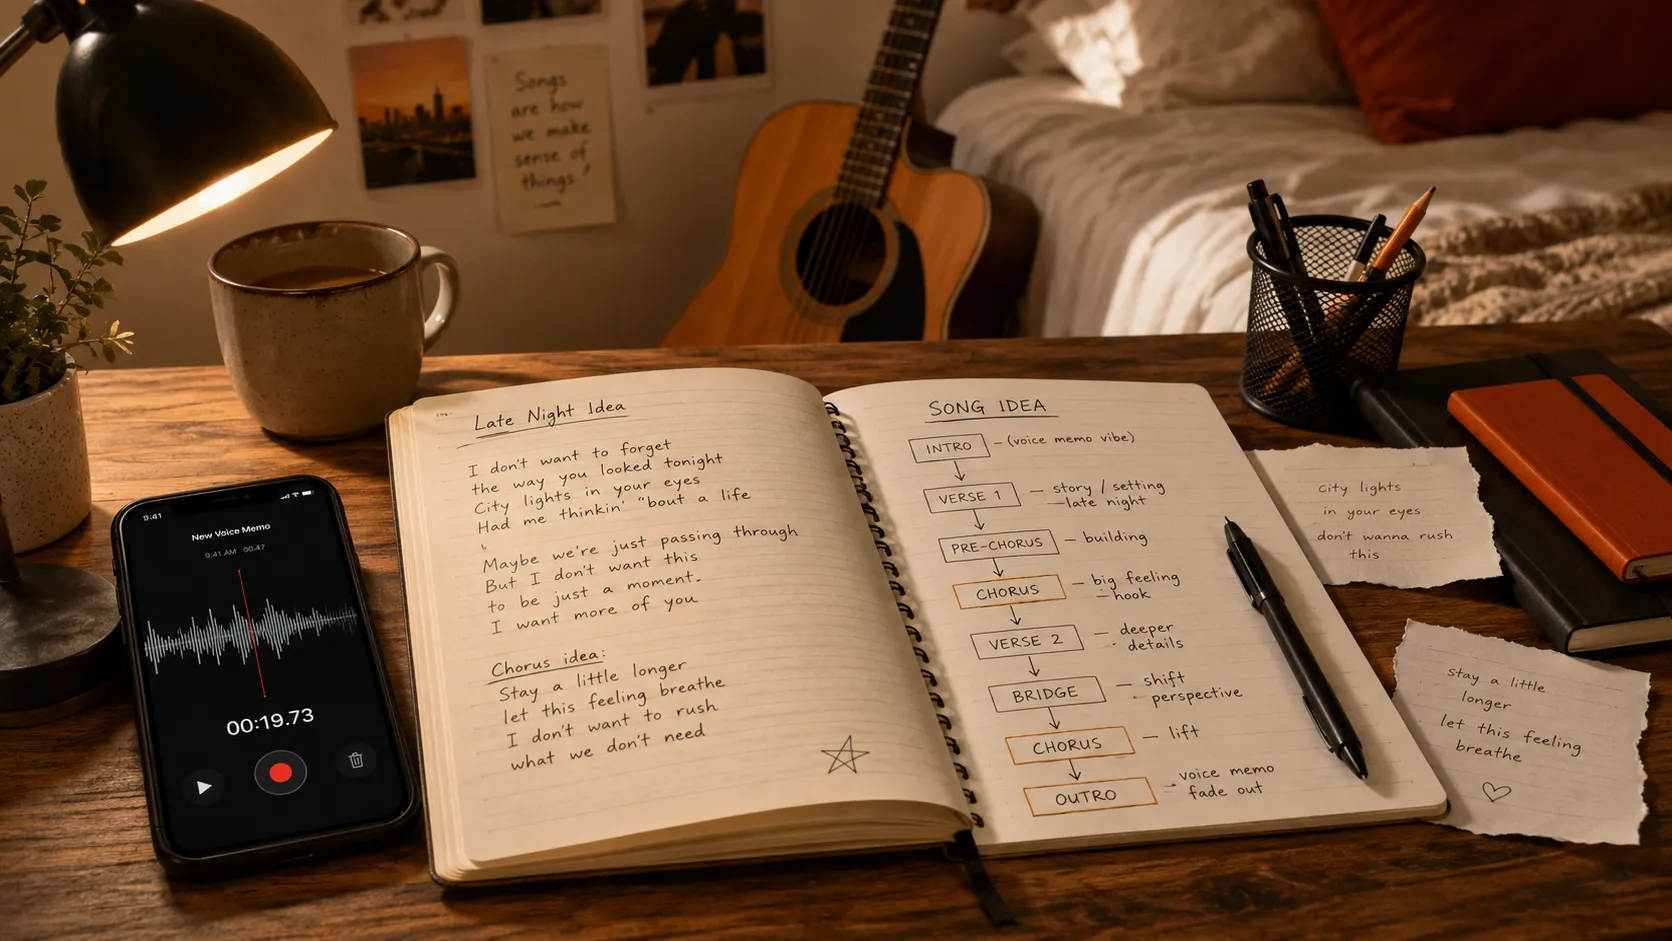
Your phone might already have your next song in it.
Not a finished song.
Not a perfect song.
But the beginning of one.
Maybe it is a melody you hummed while driving. Maybe it is a lyric you whispered at midnight. Maybe it is a chord loop you recorded and forgot about. Maybe it is ten seconds of something that felt good in the moment, but now you do not know what to do with it.
That is where a lot of beginner songwriters get stuck.
They record the idea.
They save it.
They tell themselves they will come back to it later.
Then later becomes next week. Next week becomes six months. And eventually, the voice memo becomes another unfinished idea sitting in their phone.
The problem is not that the idea is bad.
The problem is that a voice memo is only the starting point.
To turn it into a song, you need a simple next step.
A Voice Memo Is Not the Song Yet
A voice memo can feel exciting because it captures the spark.
That spark matters.
But the spark is not the whole song.
A song needs shape. It needs somewhere to go. It needs a section you can repeat, build on, or come back to.
That does not mean it needs to be complicated.
At the beginning, your goal is not to create a perfect final version.
Your goal is to turn the voice memo into something you can work with.
A rough section. A chord loop. A few lyrics. A simple structure.
Something real enough that you can keep building instead of starting over.
Step 1: Listen for the Strongest Part
Start by playing the voice memo back.
Do not judge it yet. Do not decide whether it is good or bad.
Just listen for the strongest part.
Ask yourself:
- Is there one melody that stands out?
- Is there one phrase that feels honest?
- Is there one rhythm that keeps pulling your attention?
- Is there one line you would actually want to sing again?
You are not looking for the whole song yet.
You are looking for the seed.
Sometimes the best part is only three seconds long. That is fine. A lot of songs start from one small moment.
Circle that moment mentally and build from there.
Step 2: Name the Mood
Before you add chords or write more lyrics, name the mood.
This keeps you from guessing.
Ask yourself: what does this idea feel like?
Maybe it feels sad, hopeful, angry, nostalgic, peaceful, lonely, confident, confused, romantic, or tired.
Pick one or two words.
That mood will help you make better choices.
If the voice memo feels sad and late-night, you probably do not want bright, bouncy chords at first. If it feels hopeful and open, you probably do not want to force it into something dark.
You do not need theory to start making decisions.
You just need to know what the idea is trying to feel like.
Step 3: Find a Simple Chord Loop
Once you know the mood, choose a simple chord progression.
Do not hunt for the perfect one. Pick something that supports the idea well enough to keep moving.
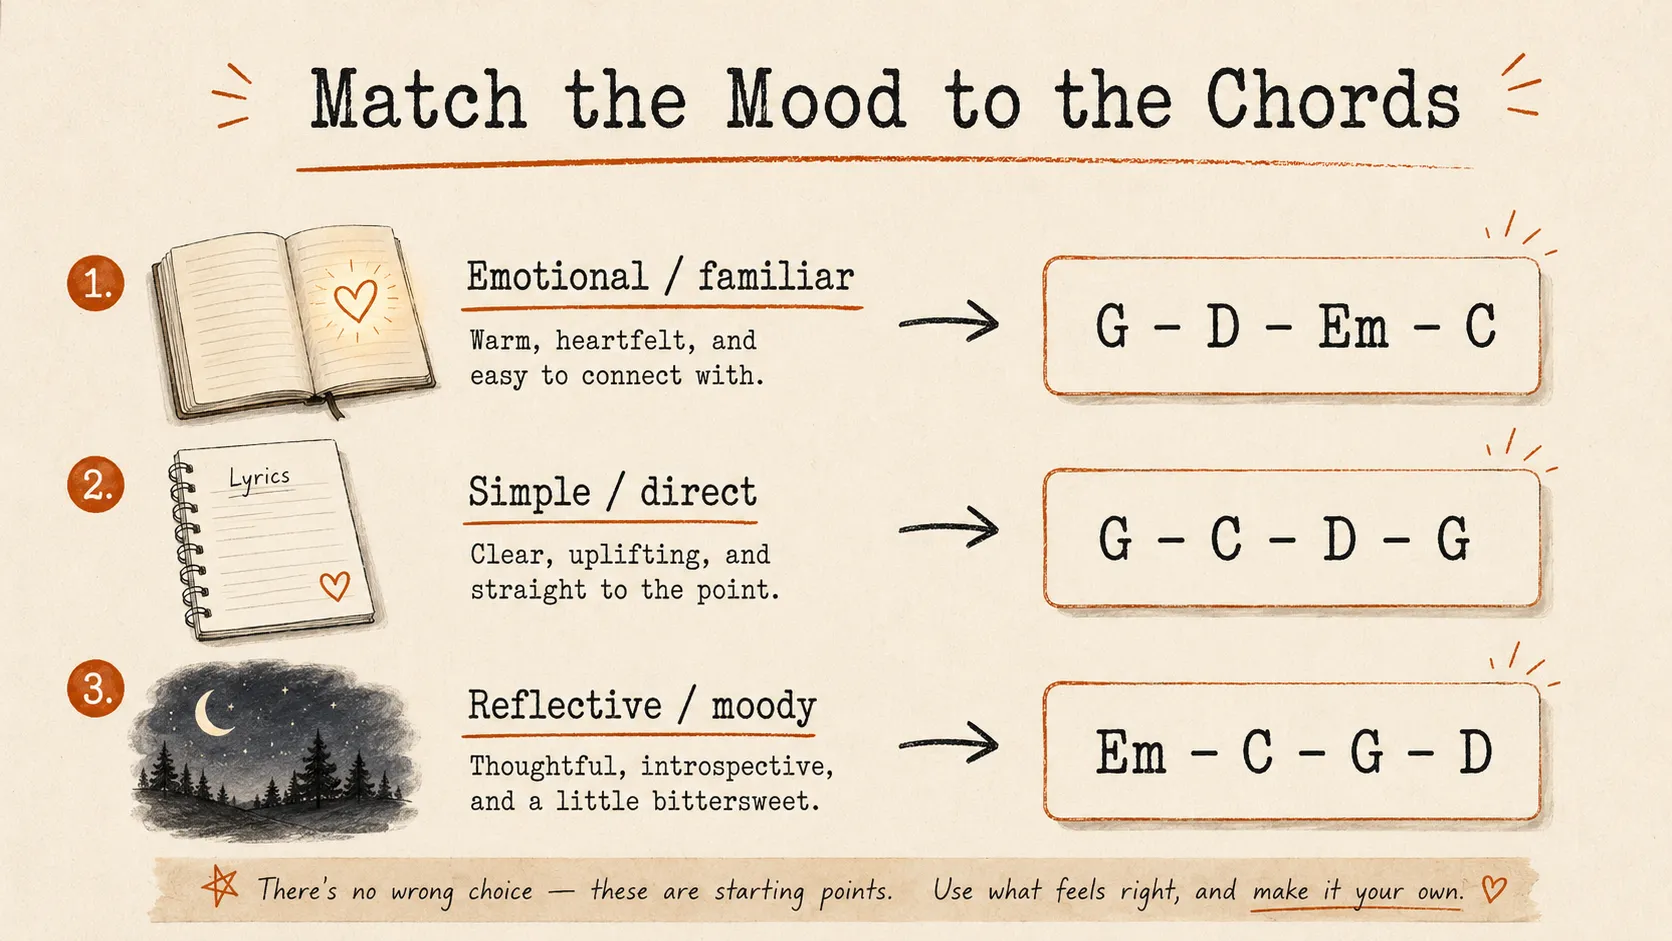
If you are playing guitar, try beginner-friendly progressions like:
G – D – Em – C — works well for emotional, familiar, open songs.
G – C – D – G — works well for simple, direct, story-based songs.
Em – C – G – D — works well for reflective, moody, or personal songs.
Play each chord for four counts. Loop the progression slowly. Then hum your voice memo idea over it.
If it does not fit perfectly, adjust the melody a little. If the chords feel close enough, keep going.
The goal is movement. Not perfection.
Step 4: Decide What Section It Might Be
Not every voice memo is the chorus.
Sometimes it is a verse. Sometimes it is a bridge. Sometimes it is just a melody that belongs somewhere else.
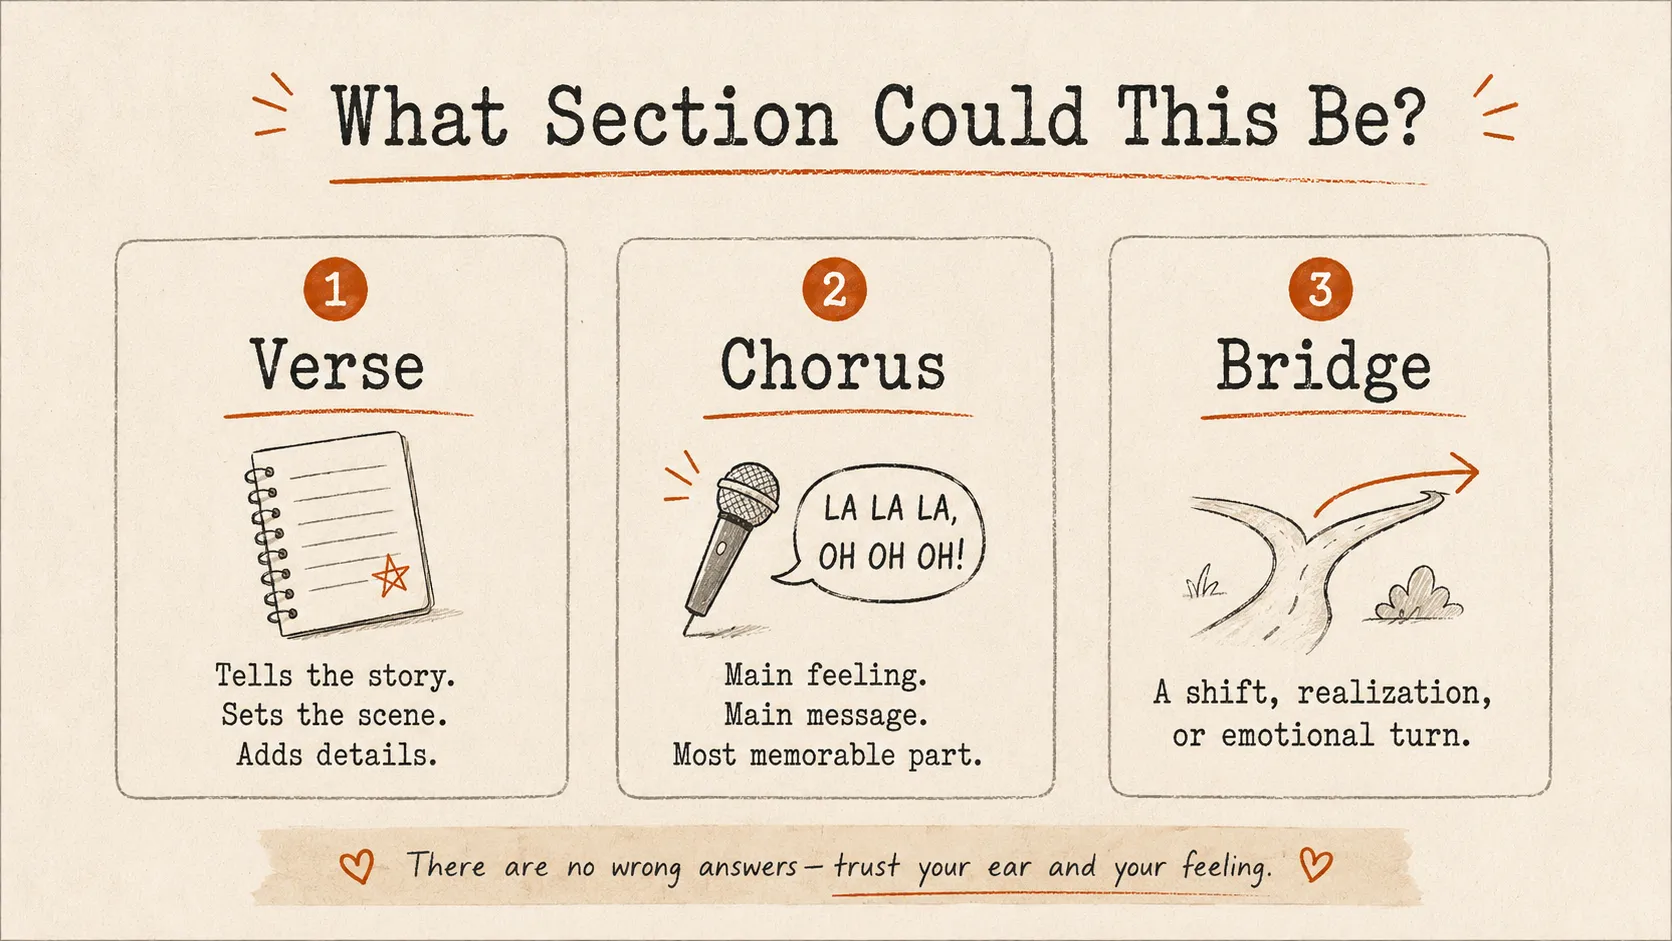
Ask yourself: does this idea feel like the main point of the song?
If yes, it might be a chorus.
Does it feel like it is telling a story or setting the scene? If yes, it might be a verse.
Does it feel like a shift, realization, or emotional turn? If yes, it might become a bridge.
You do not have to be right immediately.
You just need to make a temporary decision so the song can start taking shape.
A temporary structure is better than no structure.
Step 5: Write One More Line
Now that you have the strongest part, the mood, the chords, and a possible section, write one more line.
Not the whole song. Just one line.
If your voice memo has a lyric, write the next line that naturally follows it. If your voice memo is only a melody, sing placeholder words until something starts to fit.
You can use simple prompts:
- What happened before this feeling?
- What do I wish I could say?
- What image matches this mood?
- What would I say if I stopped trying to sound clever?
- What is the plainest version of the truth?
Beginner songwriters often freeze because they try to write the perfect lyric too early.
Do not do that. Write the useful line first. You can make it better later.
Step 6: Build a Rough Song Skeleton
Once you have one section started, give the song a basic skeleton.
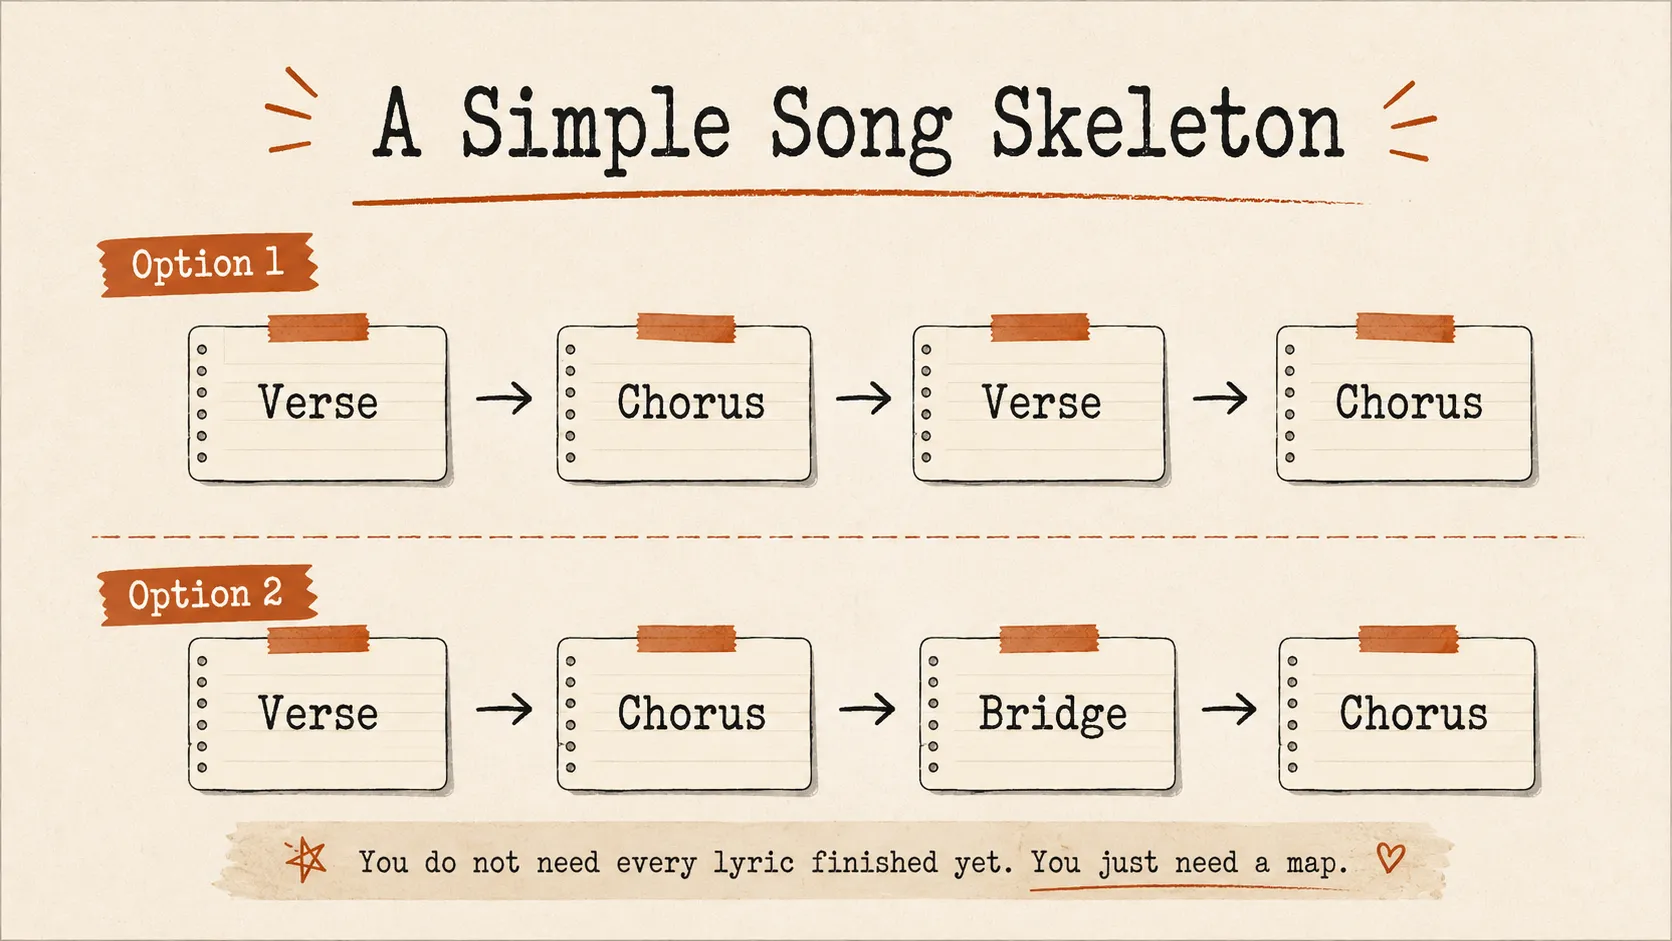
This can be extremely simple:
Verse → Chorus → Verse → Chorus
Or:
Verse → Chorus → Bridge → Chorus
You do not need to fill in every lyric immediately. You can use placeholders.
For example:
- Verse: explain the situation
- Chorus: say the main feeling
- Verse 2: add another detail
- Bridge: change perspective
- Final chorus: repeat the main feeling
This gives the song a map. Without a map, the idea stays floating. With a map, you know what to work on next.
Step 7: Record the Rough Version
Before you stop, record a rough version.
Even if it is messy. Even if the lyrics are unfinished. Even if your playing is not perfect.
Record the chord loop and sing whatever you have.
This matters because once the idea becomes a rough demo, it is no longer just a random voice memo.
It is a song in progress.
That is a major shift.
You now have something you can return to, edit, rewrite, and finish.
A rough recording gives the idea a body.
Do Not Judge It Too Early
The fastest way to kill a song idea is to judge it while it is still forming.
A voice memo is allowed to be messy. A first draft is allowed to be awkward. A rough song is allowed to have weak lines.
At this stage, your job is not to decide whether the song is amazing.
Your job is to help the idea survive long enough to become something.
You can revise later. You can change the chords later. You can rewrite the verse later.
But first, finish the rough shape.
The Simple Voice Memo Process
Here is the process again:
- Listen for the strongest part.
- Name the mood.
- Choose a simple chord loop.
- Decide what section it might be.
- Write one more line.
- Build a rough song skeleton.
- Record the rough version.
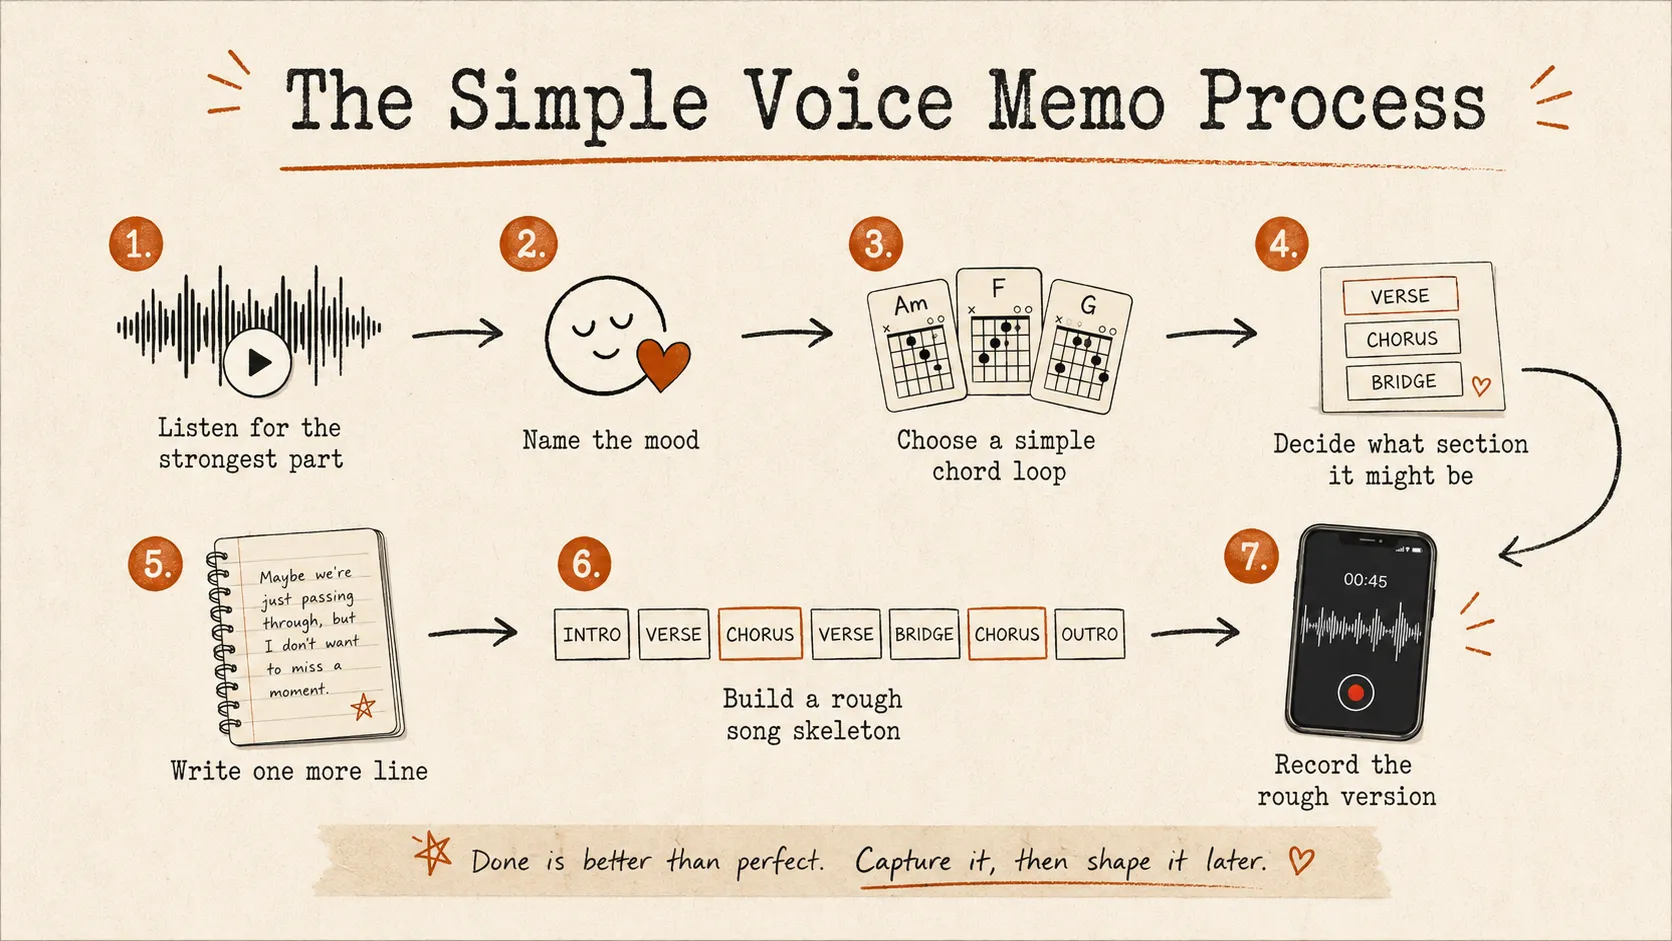
That is enough to move a voice memo forward.
You do not need to turn every idea into a masterpiece.
You just need to practice turning ideas into songs.
The more you do that, the easier finishing becomes.
Turn the Memo Into Something Real
Your phone is not just full of random ideas.
It is full of unfinished starting points.
The difference between a voice memo and a song is not talent.
It is process.
Pick one memo. Choose the strongest part. Add a few chords. Write one more line. Give it a rough structure. Record it before you judge it.
That is how the idea starts becoming real.
free download
Download the Free Song Starter Worksheet
A one-page path for turning your next idea into a rough song — mood, chords, structure, and a finish line all in one place.
Get the free worksheet →